The leaves are changing color and I am wearing some of my favorite cozy clothes again. I love this time of year and I also love crafting for it. Today I am sharing some of my favorite DIY fall craft ideas and also how to display them!
You know that I love to share vintage crafts with you. If you have been following me for awhile you probably have a whole slew of projects and ideas. But do you know what to do with your beautiful creations once you have made them?
Today I am giving you some DIY fall craft ideas. Then I am showing you a few different ways that you can display them in your home! I show you how to mix different elements and textures to get a beautiful fall display that is uniquely yours!

DIY Fall Craft Ideas and How to Display them
Below are four of my favorite fall crafts. You can click on each project for the supply lists and full tutorial. There may even be a couple that you have already made! Once you have your completed creations in hand, watch the video below for inspiration on how to arrange them in your home.

Making Fabric Pumpkins
Every year as I start to put out my fall decor, I fall in love with these adorable pumpkins all over again. And I can’t help but make more! Each one is so uniquely beautiful and fun. And they tuck so well into your existing decor that it seems like I can never have enough.
In this post I show you how to make fabric pumpkins that are the perfect addition to your fall decorations. I show you how to make the pumpkins and then I show you a bunch that I have made in the past. That way you will have lots of ideas on hand when you go to make your own. This is a super easy project and the results are just so pretty!

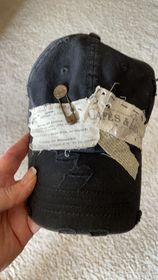
DIY Spooky Halloween Bottles
If you have been with me for a while you know how much I love to decorate old bottles with vintage items. These DIY spooky Halloween bottles are a twist on my normal creations. I am showing you what to use and how to make your own collection of ingredients for a witch’s brew!
I have been making a few at a time and now have quite the witch’s ingredient shelf. These bottles are a little spooky and a lot of pretty. I hope you love them as much as I do!

How to Make Concrete Pumpkins
If you are looking for a new kind of fall pumpkin craft, learning how to make concrete pumpkins may be perfect for you! I love crafting for fall and have made lots of different types of pumpkins. These have such a unique look and no two turn out the same. So, if you’re like me and have already made lots of pumpkin crafts and want something new, you’re in the right place!

How to Make Fabric Acorns for Fall
You probably already know that sewing is not my thing. I am always impressed by those of you who can sew and the beautiful things you create. It’s just not something that I’m great at or really enjoy. But, projects like this I can totally do! It takes a needle and thread but the stitches can be messy and uneven and it doesn’t matter. They will all be covered up in the end so you’ll never know. That’s my kind of sewing! These fabric acorns are adorable and can be made from just about anything you have on hand.
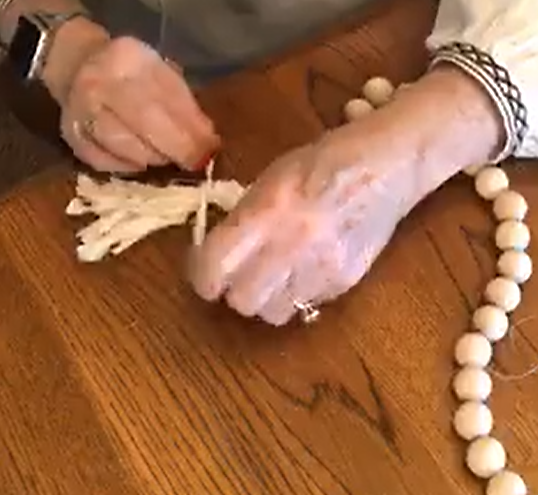
How to Display your Fall Decor
Supply List of Items I Showed in the Video
In the video above, I show you lots of really great items that you can use for your fall displays. If I have a link for them I have added it for you in the list below. That way you will be able to easily snag the items that you love!
- Hops flop greenery
- Hang down greenery pick
- Small dough bowl
- Large dough bowl
- Black lift stand
- French gray goblets
- Candles
- Scarves
- Door knob
- Decorated vintage bottles
- Fall pumpkin greenery
The Wrap Up…
So there you go, friends! Some fabulous fall craft ideas for you and some beautiful ways to display them. Of course you will have your own special items that you will want to incorporate. I just wanted to show you some different methods that you can use to get the most visual appeal out of your decor.
I hope you got some ideas that you are excited to try. And I hope you love them as much as I do! Happy decorating and happy fall!

Make sure you never miss a Live or discount for my website! Sign up here to receive texts and I’ll let you know when fun things are happening! https://my.community.com/tamilovesvintage
Tami’s cell phone number: 740-273-6693
Looking for more decor inspiration? Be sure to follow me on Facebook and Instagram! You can also subscribe to my YouTube channel so you never miss a video tutorial!
If you love creating vintage treasures as much as I do you can also join my membership group, Tami Loves Creating Vintage Treasures. There you will get exclusive tutorials that will teach you how to create beautiful and unique pieces that will fit perfectly with your vintage decor!